Sunday, October 31, 2010

SU! Stamp-a-stack Christmas cards

Friday night I went to my friend and amazing SU! demonstrator, Tina's first Christmas stamp-a-stack class for the season. And am I ever happy that I did. We had an amazing time. Tina is a wonderful hostess, and decorator, and card designer. She is the whole package! Check her out at http://thecrazystamplady.blogspot.com/ and see for yourself all her creations and interests.
This is a darling easel card, full of cute details. From embossing, glitter, corduroy brads and buttons.
Check out this darling apron shaped card. It has a pocket on the front, we put a peppermint candy in it for lack of candy canes at this time of the year.
Up close for more detail. Cute lil oven mitt and gingerbread man. So sweet.
This is a shimmery beauty. Embossed with glitzy gold and then sprayed all over with her home made gold lame Shmootz spray. Tina added several drops of schmootz paint with rubbing alcohol in a spray bottle. Its GORGEOUS!!!!

Here's a close up. It really doesn't do it justice. Its stunning in person.

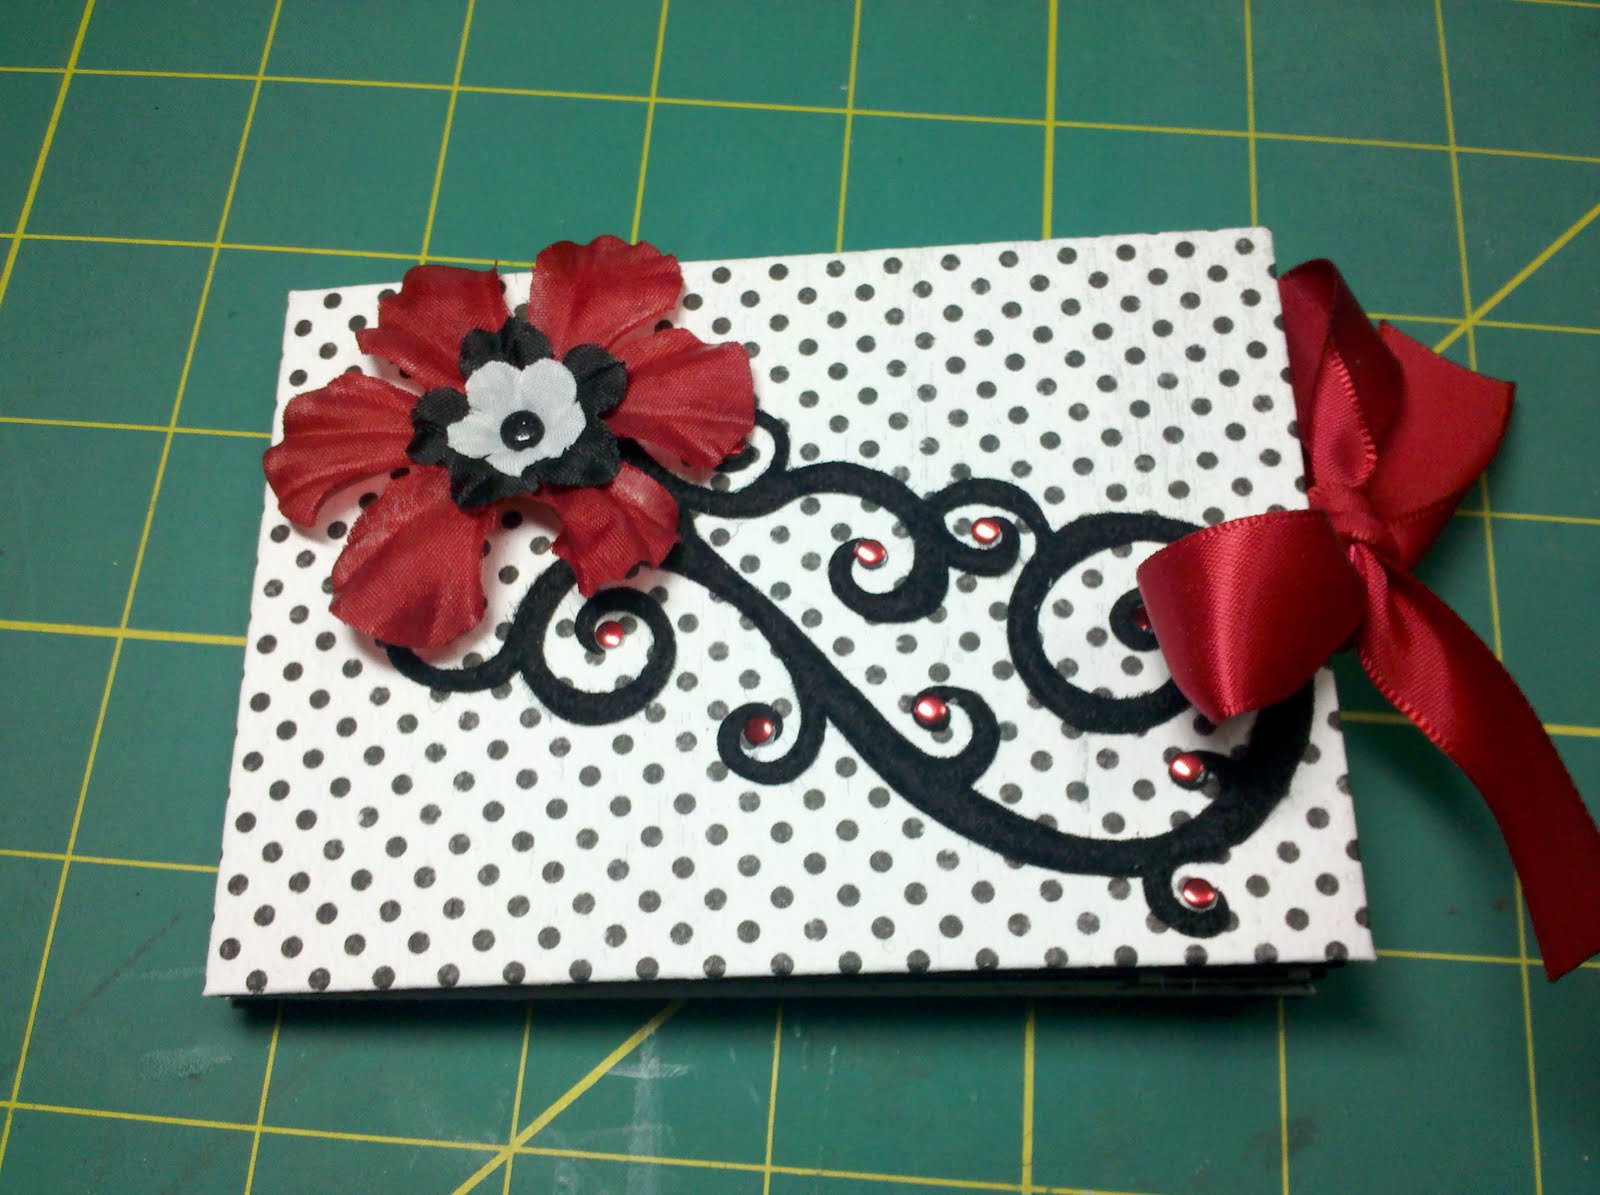
The piece de resistance! The glamour card. This is a gorgeous combination, cherry cobbler and very vanilla with gold accents.

This is a pretty good representation of the beautiful gold lame glimmer spray all over.

Happy Halloween, I hope you enjoyed all your tricks and treats. I sure did. We volunteered this evening at our church Halloween event. My hubby and I ran the bean bag toss game for 45 minutes, and I must say I have not had this much fun since my boys were young and so excited about Halloween. Those same teenage boys also helped out and when we got in the truck to go home, we were all saying what fun we had. We will definitely be volunteering again next year. Cypress Avenue Baptist Church in Carmichael, if you are local you should totally plan on stopping by next year.

Find inspiration everywhere! Go... Create something fun & fabulous. Enjoy!

Saturday, October 30, 2010

Pumpkin gift boxes

I saw a similar 3D pumpkin tutorial for sale somewhere. I can not locate it now, but they did not have a .cut file for Cricut design studio. So I took that as a personal challenge and set about to creating one. 3 hours and 6 test cuts later. Voila! Cutey-patootie pumpkins for Halloween and into fall. That's why I didn't put any jack-o-lantern type faces on them because I want them to be able to stay up from now through Thanksgiving.

Here is a close up of the top. It has a stem, leaves and the lil curly vines. I chalk inked all the edges, they look kind of pathetic with the flash on my camera. Its a grey day so far this morning (YAHOO! dancing with happiness for the grey fall day) so I had to use the flash. I chalked all the edges with Versamagic chalk ink in Ginger bread and Jumbo java colors.  
Here is the smaller pumpkins insides. Poor pumpkin is starving. Shame on me.
AAAHHHH, now the pumpkin is happy. Yum-o! The finished measurements are 3.25 x 3 for the smaller one and 3.25 x 4 for the taller one.
I used George basic shapes cartridge on the design studio for Cricut, and I would be happy to share my .cut file with you. Just leave me a comment (be sure to give me your email address) and I will send it out to you.

Thanks for stopping by. Happy Halloween, enjoy your tricks and treats.
Find inspiration everywhere! Go... Create something fun & fabulous. Enjoy!

Wednesday, October 27, 2010

Halloween mini album


I've been boo'd. My work group is doing this boo game. So this is my boo gift I gave to my friend, she was just saying the other day that she had a bunch of ghost hunting photo's she wanted to get into an album....TA DA! I was working on this album and hoped it would be perfect.  

The pages are made with blank note cards from Dollar tree, with 2 sides taped together to make a pocket. I cut a bunch of tags from my Cricut. The fright night letters are left from a prior project, I lost the tiny little dots for over the I's so I used orange Kaiser craft gems.  

I also used the envelopes for pocket pages.


More letters left from Halloween cards cut recently.
This was a fun mini to put together. I plan to do some more soon.

Find inspiration everywhere! Go... Create something fun & fabulous. Enjoy!


Sunday, October 24, 2010

Star mini album


This is my only bit of paper crafting this week. I love how it turned out. A friend of  mine had made a bunch of beautiful star albums, and I was intrigued to say the least. I found a great youtube tutorial. Its by expertvillage and the tutorial series is titled "How to make a star book" there are 7 short videos to this tutorial. It is very thorough, and I like being able to do the steps and then start another video, then do those steps....and so on.


Those are each of the inside pages. I did minimal decorating because the pages are small. Each side is 3x3. The finished size of the book is 4.25x3 when closed. But the wow factor is when its opened, it can be tied and displayed in the shape of a star.

Wow, right? Well, I thought so anyways. Very cute. So in my altering this down to a smaller size I cut my outer pages (the red in this picture) at 3x8.5 inches. I cut the middle page (the white) at 3x7.25 inches. The outer most page, where the pictures or sentiments can be mounted (the black) are cut at 3x6 inches. I used scraps to decorate each pair of pages.
Well, that's it for me for now. I am eager to get more time for my paper crafting. Cross your fingers for me. Thanks for stopping by.

Find inspiration everywhere! Go... Create something fun & fabulous. Enjoy!

Sunday, October 17, 2010

Scallop Halloween pumpkin cards

These are totally made from all the scraps left on my desk after all the paper fun I have had this weekend. The scallop cards and the orange circles are left from the Halloween cards posted here. The ovals are off cuts from the Halloween treat holders posted here and here.

This is the inside of both cards. Also another off cut from Halloween cards posted here.

This is just to show the embossing and the texture of the leaf and curly vine. Whew, paper productivity at its best this weekend. Thanks for stopping by.

Find inspiration everywhere! Go... Create something fun & fabulous. Enjoy!

Halloween skull and cross bones card


I'm on a roll. Finishing up lots of projects that have been sitting around. These are cards I cut out weeks ago while I was borrowing Brandy's Gypsy. (Thanks for loaning me you cool toys!) They were designed on the Gypsy with the Gypsy wanderings cartridge. Very cool! One skull is distressed with antique paper ink after I wrinkled and roughed it up. The second skull was sprayed with Glimmer mists after the same roughing up.

Here is a close up to show the layers and texture.

This is the inside of one, these are the off cuts from a prior project. It cut beautifully and I just couldn't waste them. This was the perfect use for them, I think.

Hmm, I wish you could see the Glimmer mist a bit better. The black layer I sprayed with red velvet to add an extra level of creepy-ness. The white pieces were misted with creme de cocoa and pearl color.

The inside gets more off cuts. Too cool, huh? I love creating with something that might  have been garbage.
Find inspiration everywhere! Go... Create something fun & fabulous. Enjoy!

Saturday, October 16, 2010

Scallop circle Halloween cards


Again with the Pumpkin carvings adorable Halloween cards. This time I paired it with Mini monograms cartridge and made the scallop circle shaped card. I just added a simple ribbon accent, these are the newest ribbon club shipment from my fave Reasonable Ribbons web store. You can find the link down the page on the right hand side. I love my monthly shipment of perfectly selected, coordinating and complimenting ribbon selection. Woo hoo!
The circular design is part of the Pumpkin carvings cartridge. The orange layer is cut from Mini monograms along with the scallop card base. I kept the base size at 4.25 circle so that they will fit inside a standard envelope. But I plan on using them as gift bag tags.
More cute cuts and ribbon.
This detailed design cut beautifully. I set my Cricut design studio to multi cut 2 at the suggestion found on capadiadesigns.blogspot.com, and it really helped.

Him too, crisp cuts even on the super skinny detail cuts. He is actually a perfect circle on the cartridge, I unfortunately was being cheap and using scraps and it cut off the edge just a tad. That explains the flat spot at the very bottom of the circle.  

Love these designs. Simple but cute.

Enjoy the too cute to spook designs. I have this .cut file available to anyone who would like it, as always just leave me a comment (including your email address) and I will send it out.

Find inspiration everywhere! Go... Create something fun & fabulous. Enjoy!

Halloween cards

I am back in my craft cave finishing up some projects. Wow, it was literally a full week that I did not hardly even peek in my scrap room. I missed it. Creating is my sanity cushion, so I really missed it. But that is behind me and I am loving it right now. Its a gorgeous breezy morning, all the windows and doors are open. The guys are out of the house enjoying thier hobbies, so its quiet. And I am playing with paper. Yeah, its a decadent Saturday morning.

I made this .cut file last week. I cut all the pieces. Then they sat on my desk. Poor cutey patootey pumpkins. But now they have been embossed and taped and embellished. They are all smiles! Aren't they simple but cute? I really love the Pumpkin carvings cartridge. I also used George basic shapes cartridge in the design of these cards. My original inspiration came from capadiadesigns.blogspot.com her 08-27-10 post started it, she also made a few more fabulous posts and picture tutorials as I have said before are a wonderful way for me to learn. It really makes my life easier. If you have a Cricut with Design studio or Gypsy you have got to subscribe to her blog. All I can say is WOW!
This is the inside cut. The fonts on this cartridge are amazing. Love it!
Another pumpkin face, this one's a lil bit more scary. I ran it through the Cuttlebug with the spider web texture plate.
Another cute sentiment cut available on the Pumpkin carvings cartridge.
Here you see 7 of the different faces available in my .cut file. There are 8 on the .cut file but one did not successfully cut because my mat is a tad worn and the cut was detailed and so the paper pulled away and kind of messed up.
These are an inside view, all of these sentiments are preset on the Pumpkin carvings cart. Totally fabulous.

If you would like the .cut file, I would be happy to share. Just leave me a comment (with your email address please) and I will send it out for you. 

Find inspiration everywhere! Go... Create something fun & fabulous. Enjoy!
Related Posts Plugin for WordPress, Blogger...